Using Profiles to Perform Scanning
This section explains how to use profiles to perform scanning.
The following explains an example in which the scanned image file is saved to ScanSnap Home.
- Click the ScanSnap Manager icon
 in the Dock while holding down the [control] key on the keyboard, and select [Settings] from the ScanSnap Manager menu.
- The ScanSnap setup window appears.
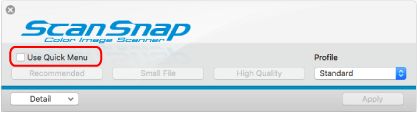
- Clear the [Use Quick Menu] checkbox.
 HINT
HINTWhen you connect SV600 and another ScanSnap to a computer, a pop-up menu for changing the ScanSnap to use is displayed. For details, refer to When Two ScanSnaps Are Connected to a Computer (SV600).
- Click the [Apply] button in the ScanSnap setup window.
- Click the [
 ] button in the upper left of the window to close the ScanSnap setup window.
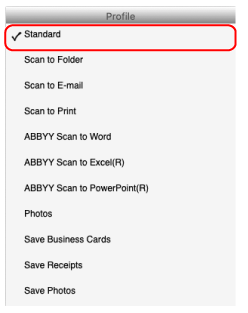
 - Select [Standard] from the Profile menu.
 HINT
HINTWhen you connect SV600 and another ScanSnap to a computer, the Profile menu specific to each ScanSnap is displayed. In that case, select a profile from the Profile menu for the ScanSnap model you use.
- Scan documents with the ScanSnap.
For details about how to scan documents, refer to here in the Basic Operation Guide.
- When scanning is completed, the main window of ScanSnap Home appears.
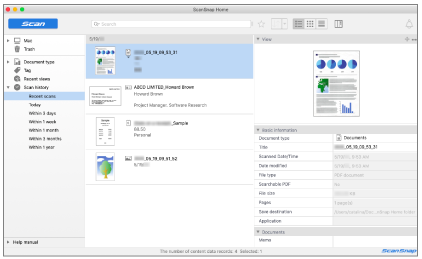
- When scanning is completed, the main window of ScanSnap Home appears.