Adding Applications
This section explains how to add an application.
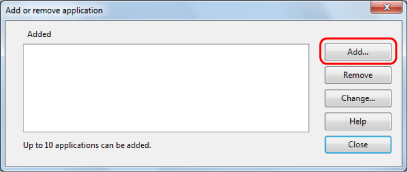
Up to any 10 applications can be added.
- Right-click the ScanSnap Manager icon
 in the notification area located at the far right of the task bar, and from the Right-Click Menu, select [Scan Button Settings].
- The ScanSnap setup window appears.
- In the [Application] tab, click the [Application Settings] button.
- The [Applications to Show/Hide] window appears.
- Click the [Settings] button.
- The [Add or remove application] window appears.
- Click the [Add] button.
- The [Application Settings] window appears.
- Click the [Browse] button.
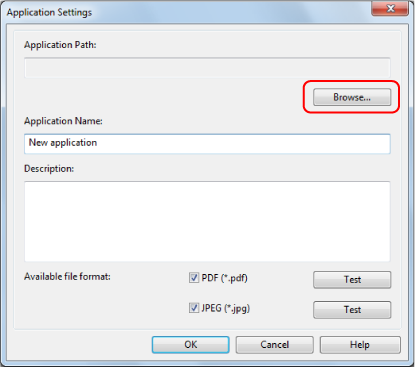
- The [Select application] window appears.
- Select an application to be added, and click the [Open] button.
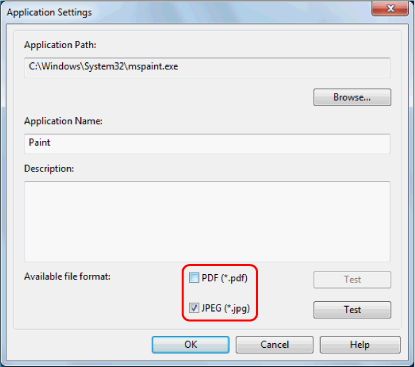
- The application path is displayed in [Application Path] on the [Application Settings] window.
- Enter the following items:
- Application Name
- Description
- Under [Available file format], select the checkbox for a file format to be linked.
 HINT
HINTAs needed, check if an application to be added supports your desired file format.
The procedure is as follows.
- Click the [Test] button next to the checkbox.
- A confirmation message appears.
- Click the [OK] button.
- The [Select File] window appears.
- Select a file of the same format as you want to link, and click the [Open] button.
- If the application to be added supports the file format, the selected file opens. If the selected file does not open, select another file format or application.
- Click the [Test] button next to the checkbox.
- When you finish specifying the settings, click the [OK] button.
- The application is added to the [Add or remove application] window.
- Click the [Close] button to close the window.
- The application name is added to [Application].
HINT
When the [Use Quick Menu] checkbox is cleared in the ScanSnap setup window, clicking the [Add or Remove] button in the [Application] tab displays the [Add or remove application] window.