Taking a Photo of a Document with the Camera Function
By simply taking a photo of a document with ScanSnap Home's camera function, the image is automatically cropped to the same size as the document and saved on a mobile device.
iOS/iPadOS
To use the camera function, you must sign in to a ScanSnap account.
For regions where ScanSnap accounts can be used, refer to here.
Android/Chrome OS
To use the camera function, you must sign in to a ScanSnap account.
For regions where ScanSnap accounts can be used, refer to here.
The camera function is not supported for Chrome OS.
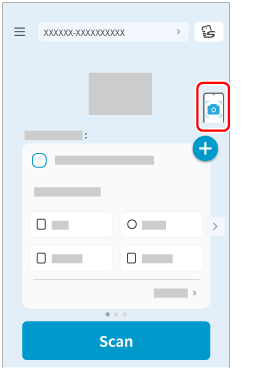
- Tap
 on the Scan screen of ScanSnap Home.
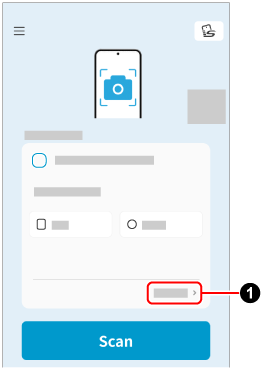
- Tap [Detailed settings]
 to configure the scan settings.
- Tap the photo-taking mode icon at the top of the camera view screen to switch between photo-taking modes.

Automatic photo-taking mode

Manual photo-taking mode
The images created from the document that you scanned are saved in the destination that you specified.
To check the scanned image, tap ![]() at the bottom of the Scan screen of ScanSnap Home to display the Scanned data screen.
at the bottom of the Scan screen of ScanSnap Home to display the Scanned data screen.
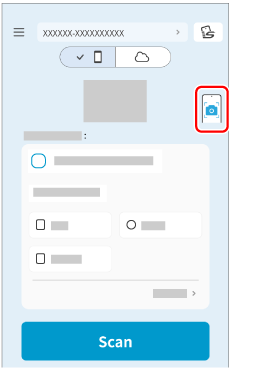
When saving scanned images to a mobile device
Scanned images can be displayed by tapping
 at the top of the Scanned data screen.
When saving scanned images to a cloud service
Scanned images can be displayed by tapping
 at the top of the Scanned data screen.