Setting up with ScanSnap iX100 and a Computer
Before starting the setup process, charge the ScanSnap battery.
When ScanSnap Home is used on a computer, the ScanSnap Cloud service can be used in ScanSnap Home.
Refer to the ScanSnap Help and configure the settings required for using the ScanSnap Cloud service in ScanSnap Home.
-
Download the ScanSnap Cloud application.
ScanSnap Cloud application download page (for North America)
ScanSnap Cloud application download page (for regions other than North America)
After the download and installation are complete, start the ScanSnap Cloud application.
-
Make preparations for connecting the ScanSnap to the Internet.
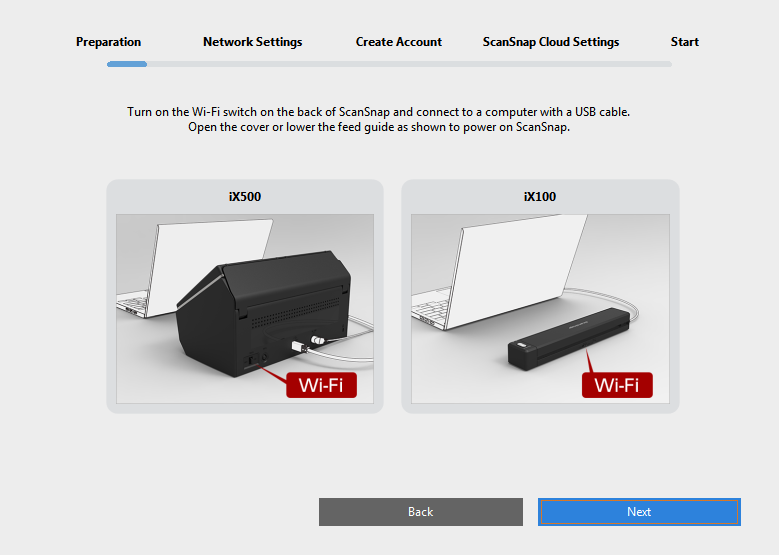 HINT
HINTIf a window that prompts you to update the ScanSnap appears, update the firmware of the ScanSnap by following the instructions displayed in the window.
-
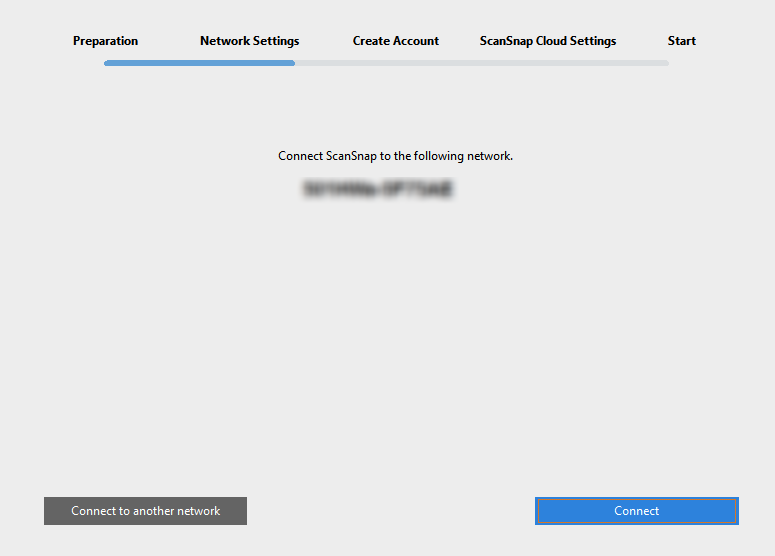
Connect the ScanSnap to the Internet.
-
Create a ScanSnap Cloud service account.
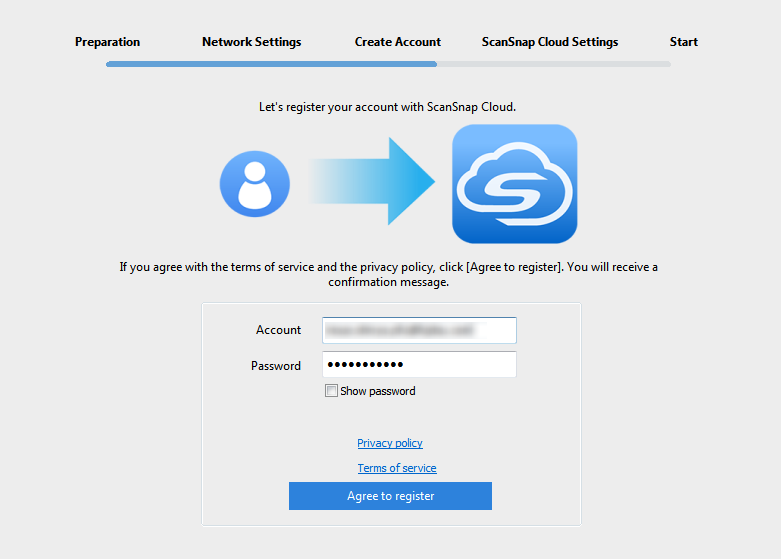 HINT
HINTSpecify a valid e-mail address for the account of the ScanSnap Cloud service.
The following characters can be used for a password:
Alphanumeric characters
A to Z, a to z, and 0 to 9
Symbols
Windows:
! @ # $ % ^ * ( ) - \ _ + | [ ] { } : , . / ?
Mac OS:
! @ # $ % ^ * ( ) - \ _ + | [ ] { } : , . / ?
A password must be 8 characters or longer.
-
Specify a cloud storage service for a scanned image.
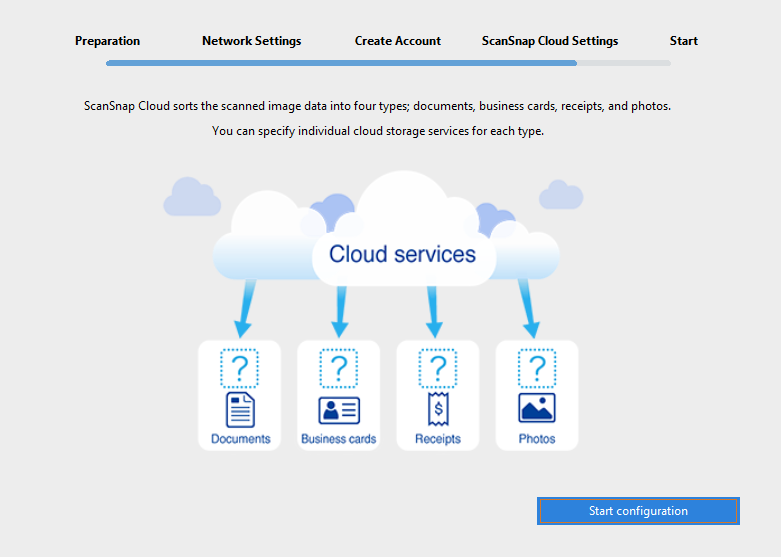 HINT
HINTIf you select [Save by Document Type], you need to specify cloud storage services for all of the document types.
-
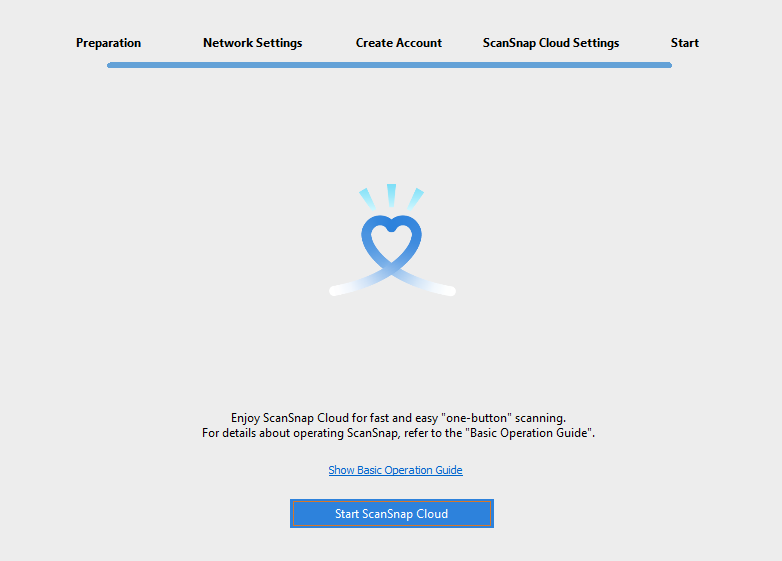
Test the ScanSnap Cloud service.
When the ScanSnap is connected to the ScanSnap Cloud service, the [Scan/Stop] button and the Wi-Fi indicator
 on the ScanSnap light up in purple.
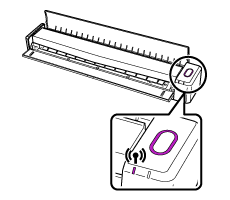
Scanned images are saved in the specified cloud storage services.
The setup process for the ScanSnap Cloud service is complete.
HINTRefer to Changing the Settings that Were Configured at the Setup for details about how to change a cloud storage service for scanned images, change a wireless access point, or add the ScanSnap to be used after setting up the ScanSnap Cloud service.