Saving Scanned Images to a Mobile Device
Images created from the documents that you scanned with the ScanSnap can be saved to a mobile device.
When images of scanned documents are saved to a mobile device, the optional Carrier Sheet and Photo Carrier Sheet cannot be used.
When images of scanned documents are saved to a mobile device, the optional Carrier Sheet, Photo Carrier Sheet, and Booklets Carrier Sheet cannot be used.
When images of scanned documents are saved to a mobile device, the optional Carrier Sheet cannot be used.
-
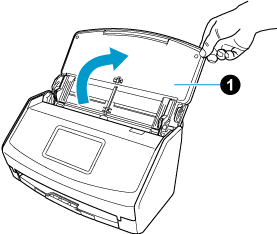
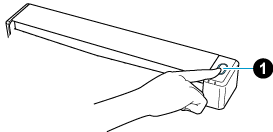
Open the ADF paper chute (cover)
 of the ScanSnap. Hold the right side of the ADF paper chute (cover)
  of the ScanSnap then open it or press the [Scan] button
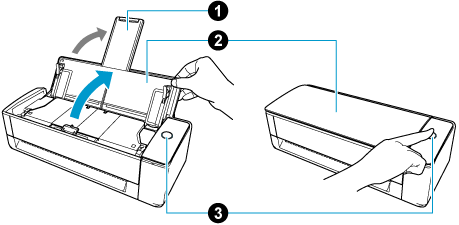
  to turn it on. Open the feed guide of the ScanSnap.
When the ADF paper chute (cover) is opened, the power is turned on.
When the ADF paper chute (cover) is opened, the power is turned on.
When the ADF paper chute (cover) is opened or the [Scan] button is pressed, the power is turned on.
Open the ADF paper chute (cover) fully so that the [Scan] button lights up in blue.
When the ADF paper chute (cover) is opened, the extension
will rise automatically.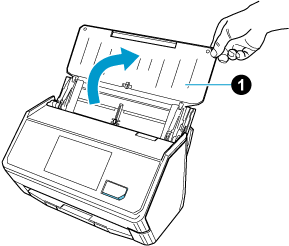

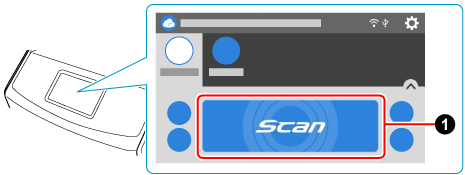
- On the Scan screen of ScanSnap Home on the mobile device, configure the scan settings.
- When adding a new batch of scan settings
-
Tap
 and follow the instructions on the screen to add a new batch of scan settings. Tap [Detailed settings] to change the scan settings.
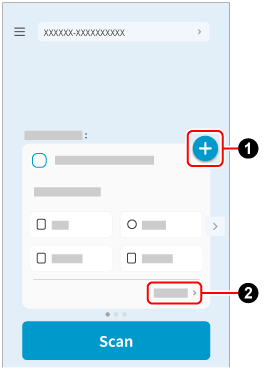
- When using an existing batch of scan settings
-
When there are multiple batches of scan settings, tap
 /
/ to display the scan settings you want to use. Tap [Detailed settings] to change the scan settings.
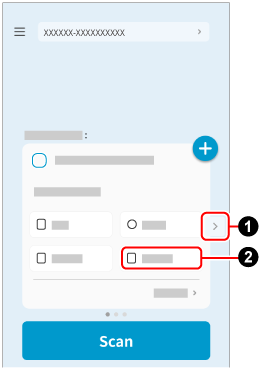
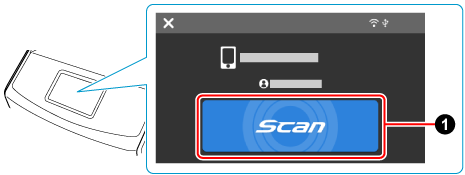
Tap  . Tap [Detailed settings] to change the scan settings.
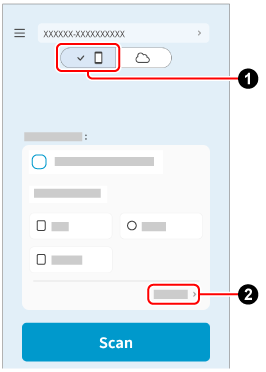
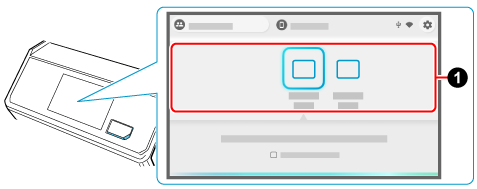
- Confirm that the profile with the same name as the batch of scan settings that you displayed in step 2 is selected in the profile list on the touch panel of the ScanSnap.
-
Press the [Scan] button to scan the documents. Press the [Scan] button on the touch panel to scan the documents. Press the [Scan/Stop] button to scan the document.
When scanning a long page document, hold down the [Scan] button for 3 seconds or longer.
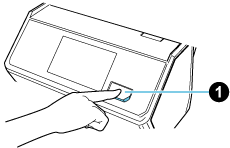

If the [Scan] button is still flashing in blue when the scanning of documents is complete, press the [Scan] button again to finish the scan.
If the [Scan/Stop] button is still flashing in blue when the scanning of documents is complete, press the [Scan/Stop] button again to finish the scan.
-
Press the [Scan] button on the touch panel to scan the documents.
- When the image created from the document you scanned is displayed on ScanSnap Home on the mobile device, check the scan result and tap the [Finish] button.
To check the scanned image, tap
 at the bottom of the Scan screen of ScanSnap Home to display the Scanned data screen.
Scanned images saved to the mobile device can be displayed by tapping
at the top of the Scanned data screen.
The images created from the documents that you scanned are saved on the mobile device.