Connecting the ScanSnap and a Computer Directly Using a Direct Connection for the Time Being
When you cannot establish a connection to a wireless access point, manually connect the ScanSnap and a computer for the time being via Wi-Fi using a Direct Connection.
When you turn off the ScanSnap and turn it back on, the Wi-Fi connect mode returns to the one that has been specified in ScanSnap Wireless Setup Tool.
-
To connect the ScanSnap and a mobile device via a direct connection all the time, select [Direct Connect mode] for the wireless mode in ScanSnap Wireless Setup Tool.
Windows
For details, refer to ScanSnap Wireless Setup Tool Help.
macOS
For details, refer to ScanSnap Wireless Setup Tool Help.
For details about how to start ScanSnap Wireless Setup Tool, refer to Configuring the Wi-Fi Settings.
-
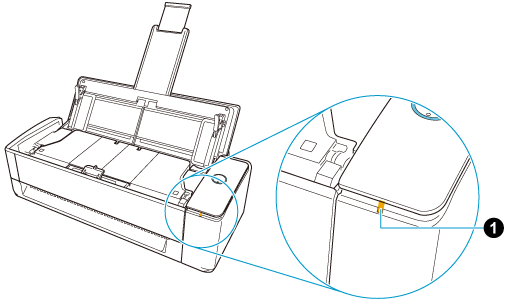
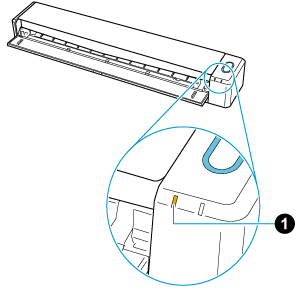
While holding down the WPS button that is at the back of the ScanSnap, open the ADF paper chute (cover) to turn the power on. While holding down the [Scan/Stop] button, open the feed guide to turn the power on.
At this point, press the WPS button for more than 3 seconds until the Wi-Fi indicator
 flashes in green.
At this point, press the [Scan/Stop] button for more than 3 seconds until the Wi-Fi indicator
flashes in green.When the Wi-Fi connect mode is changed to the Direct Connection mode, the Wi-Fi indicator lights up in orange.
- Add the ScanSnap to ScanSnap Home.
- Select [Add a ScanSnap] from the list of ScanSnap units at the top of the window.

- Select [Add a ScanSnap] from the list of ScanSnap units at the top of the window.
The computer and the ScanSnap are connected directly.