This website is designed to be used with ScanSnap Home 1.4.
If you are using ScanSnap Home 2.0 or later, refer to here.
Sending a Scanned Image via an E-mail Directly from the ScanSnap
By using ScanSnap Cloud, send an image created from the document that you scanned to the e-mail address which you registered in a profile in advance.
You can send scanned images via e-mail directly from the ScanSnap by registering an e-mail address for the e-mail destination and an e-mail subject in the cloud settings.
For regions where ScanSnap Cloud can be used, refer to here.
Up to 300 e-mails can be sent per month.
An e-mail address specified for the destination needs to be set to receive e-mails from the domain "@mail.cloud.scansnap.com".
-
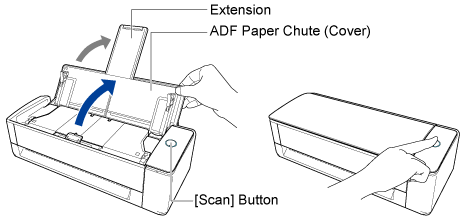
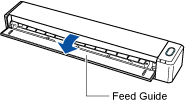
Open the ADF paper chute (cover) of the ScanSnap to turn the power on. Hold the right side of the ADF paper chute (cover) of the ScanSnap then open it or press the [Scan] button to turn it on. Open the feed guide of the ScanSnap to turn the power on.
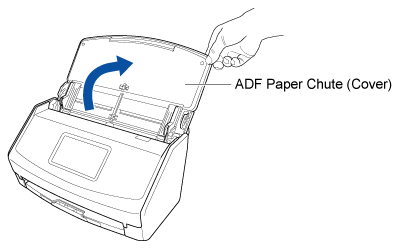
Open the ADF paper chute (cover) fully so that the [Scan] button lights up in blue.
When the ADF paper chute (cover) is opened, the extension will rise automatically.
-
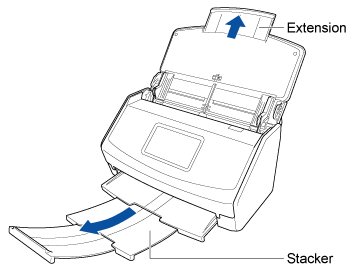
Pull out the extension and the stacker on the ADF paper chute (cover).
- Tap the [Cloud settings] icon
 at the bottom of the ScanSnap Home screen to display the Cloud settings screen.
If the settings to save the scanned image to a cloud service are incomplete, follow the instructions on the screen to complete the settings.
- Configure the cloud settings for sending images of scanned documents via e-mail.
If the cloud settings have already been configured, proceed to step 5.
- Tap the
 icon at the top of the screen to display the [New cloud settings] screen.
If your ScanSnap is not registered with a ScanSnap account, follow the instructions on the screen to register it.
- Tap the
The images of scanned documents will be sent through the ScanSnap Cloud server via e-mail.
To check the sending status of the scanned images, tap the [Data] icon ![]() at the bottom of the ScanSnap Home screen to display the Scanned data screen, then tap
at the bottom of the ScanSnap Home screen to display the Scanned data screen, then tap ![]() at the top of the screen.
at the top of the screen.