Inserting a Document Such As a Photograph and Clipping (with the Carrier Sheet)
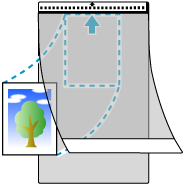
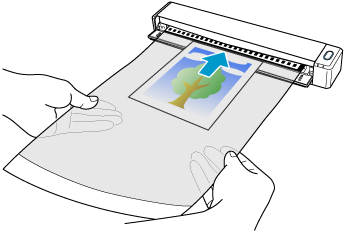
To scan a document that can be damaged quite easily such as a photograph, or non-standard size document such as a clipping, insert the document using the optional Carrier Sheet.
- Insert a document into the ScanSnap.
- Open the Carrier Sheet to bind the document.
- Insert the Carrier Sheet into the ScanSnap.
Insert the Carrier Sheet straight into the feeding section. Make sure that the Carrier Sheet is fed into the ScanSnap and is held firmly.
 ATTENTION
-
Leave enough space at the back of the ScanSnap to allow the Carrier Sheet to be completely ejected. Make sure that the area where the document exits the Carrier Sheet is clear of any obstacles. Otherwise, a paper jam may occur.
-
- Open the Carrier Sheet to bind the document.
- Modify the settings for a profile.
When [Cloud] is selected for [Type] in [Managing options] in the [Edit profiles] window, you do not need to modify the settings.
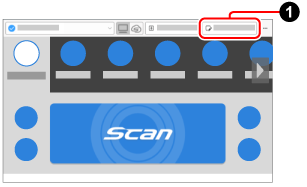
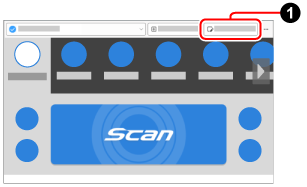
- Click the [Edit profiles] button
 to display the [Edit profiles] window.
- Modify the settings for a profile in the [Edit profiles] window.
Select a profile that you use when scanning a document from the profile list.
 Click the [Option] button for [Feed] to display the [Feed option] window.
![[Edit profiles] Window](../../../jp/pc/images/common/ope_PF_edit_03.png)
 Click the [Carrier sheet] button to display the [Carrier Sheet settings] window.
![[Feed option] Window](../../../jp/pc/images/common/ope_PF_edit_feed_03.png)
 Select [two separate images (front and back)] for [Save as].
 Select a paper size to output the scanned image for [Paper size].
![[Carrier Sheet settings] Window](../../../jp/pc/images/common/ope_PF_edit_feed_cs_03.png)
- Click the [Edit profiles] button