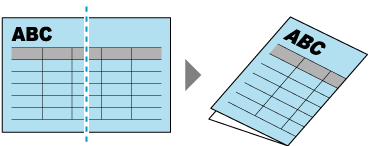
Loading or Inserting a Document Larger than A4 or Letter Size
To scan a document larger than A4/Letter size, fold the document in half and load or insert it into the ScanSnap. The images for the left and right pages of a document folded in half are automatically merged when the document is scanned. To scan a document larger than A4/Letter size, load or insert the document into the ScanSnap using the optional Carrier Sheet. Scan the Carrier Sheet with a document folded in half placed inside to automatically merge the images for the both sides of the document.
Note that multiple Carrier Sheets can be loaded and scanned in one go with the ScanSnap.
Scanning documents larger than A4/Letter size is available for Return Scan, in which a document is inserted into the manual feeder and scanned.
When you save scanned images directly from the ScanSnap to a network folder, the images of the left and right pages of a document folded in half will not be merged.
Scanned images are merged automatically when a document that meets the following conditions is scanned:
Paper size
A3 size
B4 size
Double letter size
There is text, diagram, or a table on the fold line of a folded document.
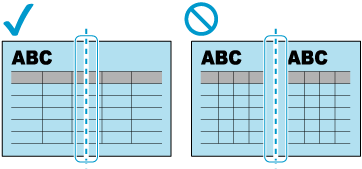
If scanned images are not merged automatically, you can merge the two pages into a double-page spread image using one of the following methods:
Merging scanned images in the window that appears when the scanning of a document is complete
After scanning a document, click the [Manual Image Merge] button in the [ScanSnap Home - Image scanning and file saving] window, and then merge the two pages in the [Image Merge] window.
Merging scanned images in the ScanSnap Home viewer window
-
If scanned images are not merged automatically, you can merge the two pages into a double-page spread image in the ScanSnap Home viewer window.
If scanned images from a document cannot be merged automatically, you can merge the scanned images using one of the following methods:
Configuring the settings to force merging in the [Merge options] window of the profile settings.
The [Merge options] window is displayed when one of the following is selected for [Type] in [Managing options] in the [Add new profile] window or [Edit profiles] window.
Windows
PC (Manage in ScanSnap Home)
PC (Scan to file)
macOS
Mac (Manage in ScanSnap Home)
Mac (Scan to file)
When setting the profile you want to use to scan the document, click the [Merge options] button in the [Feed option] window. In the [Merge options] window, select the [If automatic merging fails, always merge at a fixed position] checkbox, and then specify the merge position.
Using the optional Carrier Sheet
For a document whose scanned images are not merged automatically, you can use the optional Carrier Sheet to scan the document and merge the scanned images automatically.
-
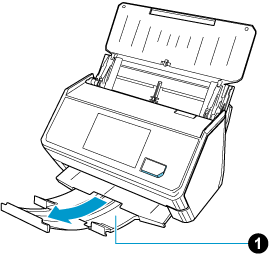
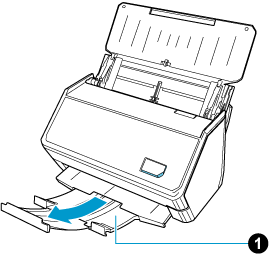
Extend the stacker
 on the ScanSnap. Pull out the extension and the stacker
  on the ScanSnap. Pull out the extension on the ScanSnap.
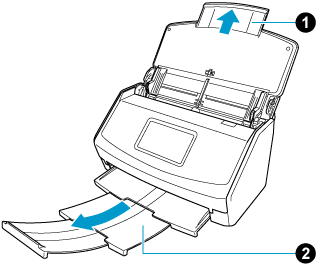
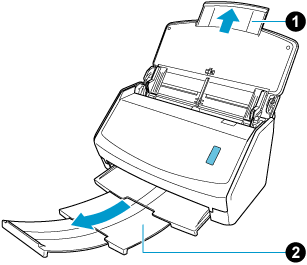
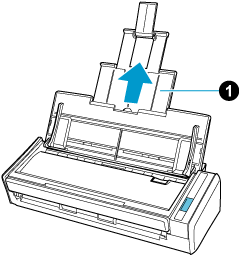
- Fold the document in half with the side to be scanned facing out.
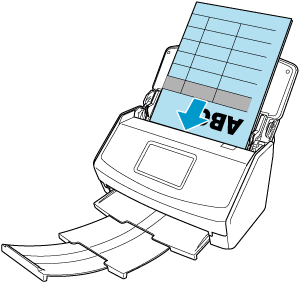
- Load the document in the ScanSnap or insert the document into the ScanSnap.
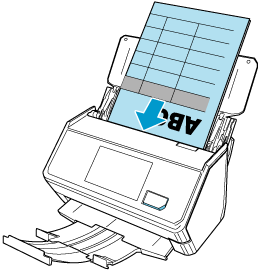
Insert the document straight into the manual feeder. Make sure that the document is fed into the ScanSnap and is held firmly.
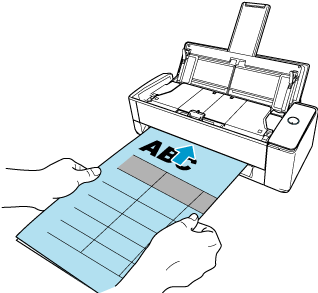 ATTENTION
When a document is scanned with Return Scan, it sticks out from the back of the ScanSnap. Leave enough space at the back of the ScanSnap to allow the document to stick out.
Insert the document straight into the feeding section. Make sure that the document is fed into the ScanSnap and is held firmly.

 ATTENTION
-
Leave enough space at the back of the ScanSnap to allow the document to be completely ejected. Make sure that the area where the document exits the scanner is clear of any obstacles. Otherwise, a paper jam may occur.
-
Align the side guides with both ends of the documents.


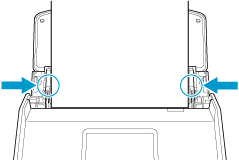
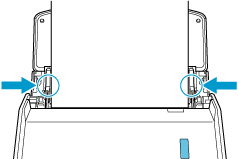
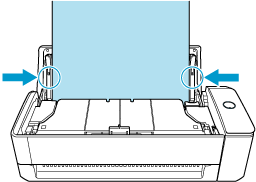 ATTENTION
-
Make sure that the document support tab is open.
Otherwise, a paper jam may occur.
If the document support tab is closed, pull it up with your fingers.
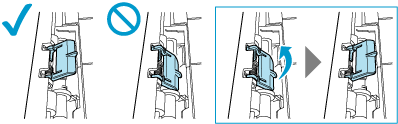
-
If the document support tab comes off, contact the distributor/dealer where you purchased this product.
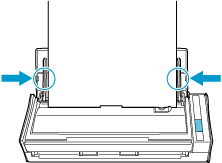
-
-
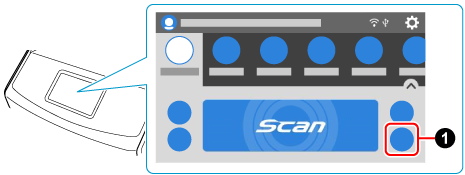
Specify the feeding method on the touch panel. Press the feed mode setting icon on the touch panel and select [Manual scan] on the [Feed mode setting] screen.
Press the arrow at the bottom of the touch panel to display the scan settings. In [Feed] that appears when you press the feed icon, select [Manual scan (Front/Back merging)].
For details about feed setting items, refer to Displayed Screens on the Touch Panel.
For details about feed mode setting items, refer to Displayed Screens on the Touch Panel.
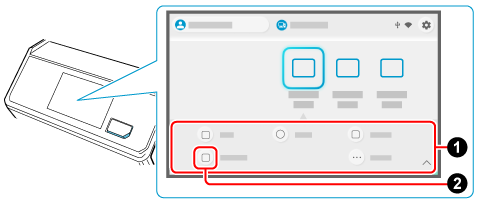
-
Load the document in the ScanSnap or insert the document into the ScanSnap.
- Fold the document in half with the side to be scanned facing out.
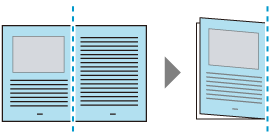
- Open the Carrier Sheet to bind the document.
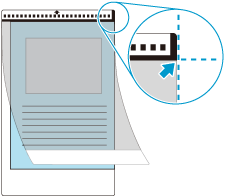
- Load the Carrier Sheet in the ScanSnap.
Align the side guides with both ends of the Carrier Sheet.
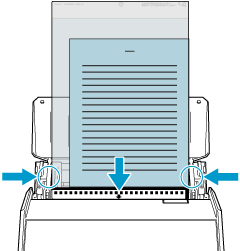
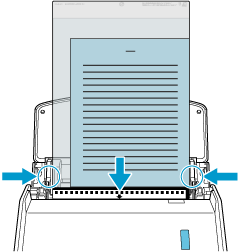
Insert the Carrier Sheet straight into the feeding section. Make sure that the Carrier Sheet is fed into the ScanSnap and is held firmly.
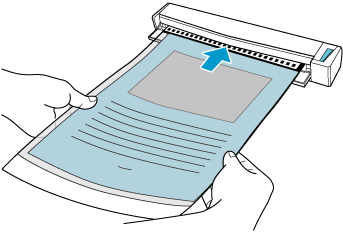 ATTENTION
-
Leave enough space at the back of the ScanSnap to allow the Carrier Sheet to be completely ejected. Make sure that the area where the document exits the Carrier Sheet is clear of any obstacles. Otherwise, a paper jam may occur.
-
- Fold the document in half with the side to be scanned facing out.
-
Modify the settings for a profile.
- Click the [Edit profiles] button to display the [Edit profiles] window.
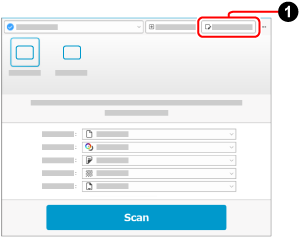
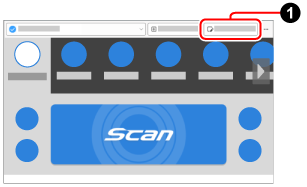
- Modify the settings for a profile in the [Edit profiles] window.
Select a profile that you use when scanning a document from the profile list. Select [All sheets will be scanned as documents] for [Document type detection].
 Select [Duplex] for [Scanning side].
 Click the [Option] button for [Feed] to display the [Feed option] window.
![[Edit profiles] Window](../../../jp/pc/images/common/ope_PF_edit_01.png)
![[Edit profiles] Window](../../../jp/pc/images/common/ope_PF_edit_old_01.png)
![[Edit profiles] Window](../../../jp/pc/images/common/ope_PF_edit_old_02.png)
 Select [Automatic detection] for [Document size].
 Click the [Carrier sheet] button to display the [Carrier Sheet settings] window.
![[Feed option] Window](../../../jp/pc/images/common/ope_PF_edit_feed_01.png)
![[Feed option] Window](../../../jp/pc/images/common/ope_PF_edit_feed_02.png)
 Select [one double-page spread image] for [Save as].
 Select a paper size to output the scanned image for [Paper size].
![[Carrier Sheet settings] Window](../../../jp/pc/images/common/ope_PF_edit_feed_cs_01.png)
![[Carrier Sheet settings] Window](../../../jp/pc/images/common/ope_PF_edit_feed_cs_02.png)
- Click the [Edit profiles] button