• HOME
  • ScanSnap Help
  • Before Using The ScanSnap
  • Basic Information about the ScanSnap
  • Attaching the Receipt Guide

Attaching the Receipt Guide

When you scan business cards or receipts, attaching the Receipt Guide to the ScanSnap makes it easy to scan them. By using the Receipt Guide for business cards and receipts, you can place documents with different widths such as receipts in it to scan them at the same time.

Documents that can be scanned with the Receipt Guide

The Receipt Guide allows you to load three kinds of documents. It allows you to load different-sized documents in each loading section to scan them at the same time.

In addition, you can move side guides, or close the ADF paper chute (cover) to turn the power off with the Receipt Guide attached to the ScanSnap. Therefore, you do not need to attach and remove the Receipt Guide every time you use it.

HINT
  • Attaching the Receipt Guide on the ScanSnap limits the number of sheets that can be loaded in the ADF paper chute (cover). Remove the Receipt Guide from the ScanSnap when scanning a large number of documents.
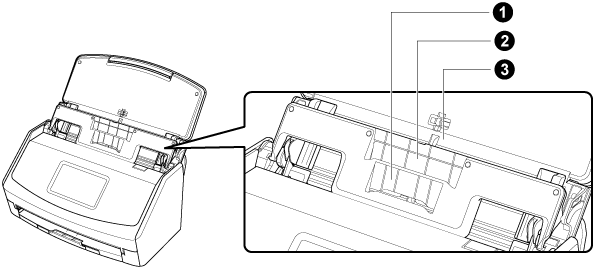
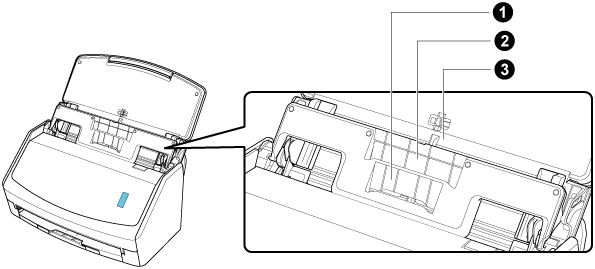
Receipt Guide
Receipt Guide

Loading section

1

2

3

Document type

Business cards and receipts

Receipts

Office paper

Paper weight

40 to 209 g/m2 (11 to 56 lb)

Paper size

Width

58 mm (2.28 in.)

Length

50.8 to 360 mm (2 to 14.17 in.)

For long page documents, up to 3,000 mm (118.11 in.) (*1)

Width

83 mm (3.26 in.)

Length

50.8 to 360 mm (2 to 14.17 in.)

For long page documents, up to 3,000 mm (118.11 in.) (*1)

Width

148 to 216 mm (5.82 to 8.5 in.)

Length

50.8 to 360 mm (2 to 14.17 in.)

For long page documents, up to 3,000 mm (118.11 in.) (*1)

*1:

The length of a document that can be scanned differs according to the settings for a profile.

For details, refer to Scanning a Long Page Document.

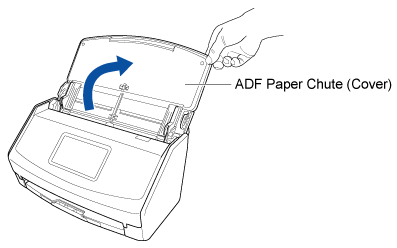
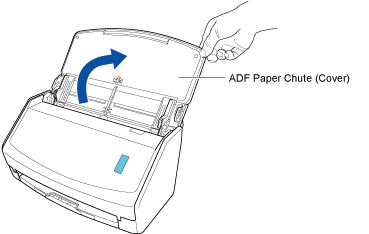
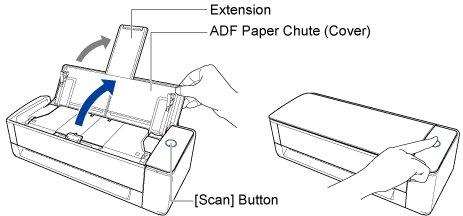
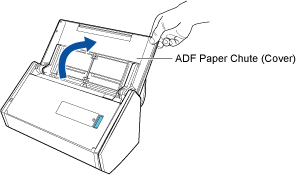
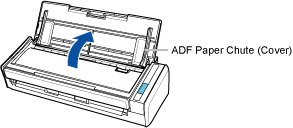
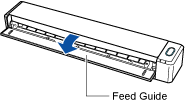
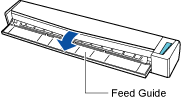
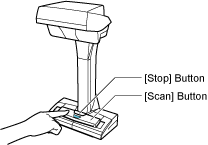
  1. Open the ADF paper chute (cover) of the ScanSnap to turn the power on. Hold the right side of the ADF paper chute (cover) of the ScanSnap then open it or press the [Scan] button to turn it on. Open the feed guide of the ScanSnap to turn the power on. Press the [Scan] button or [Stop] button on the ScanSnap to turn the power on.
    Opening the ADF Paper Chute (Cover)
    Opening the ADF Paper Chute (Cover)

    Open the ADF paper chute (cover) fully so that the [Scan] button lights up in blue.

    When the ADF paper chute (cover) is opened, the extension will rise automatically.

    Opening the ADF Paper Chute (Cover)
    Opening the ADF Paper Chute (Cover)
    Opening the ADF Paper Chute (Cover)
    Opening the Feed Guide
    Opening the Feed Guide
    Turning On
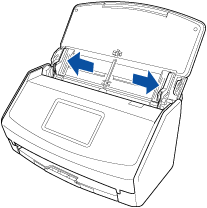
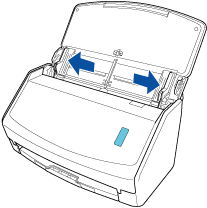
  2. Slide the side guides all the way out.
    Sliding the Side Guides Outward
    Sliding the Side Guides Outward
  3. Attach the Receipt Guide.

    The video provides an explanation with ScanSnap iX1600 as an example.

    For details about how to remove the Receipt Guide, watch the following video:

    The video provides an explanation with ScanSnap iX1600 as an example.

See also

  • Power for the ScanSnap
  • Scanning Small Size Documents such as Receipts in One Go
  • Before Using This Site
  • How to Use This Site
  • Customer Support
  • Cookie Policy

© PFU Limited 2018-2024

  • TOP