Attaching/Removing the Receipt Guide
If the Receipt Guide is attached to the ScanSnap, you can scan business cards and receipts efficiently.
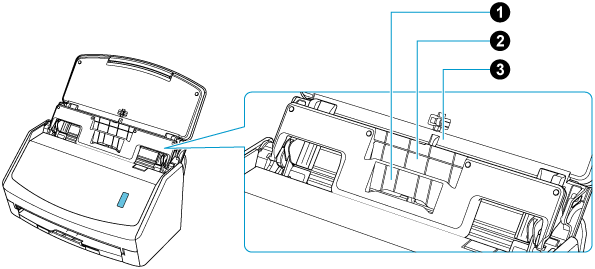
Documents that can be scanned with the Receipt Guide
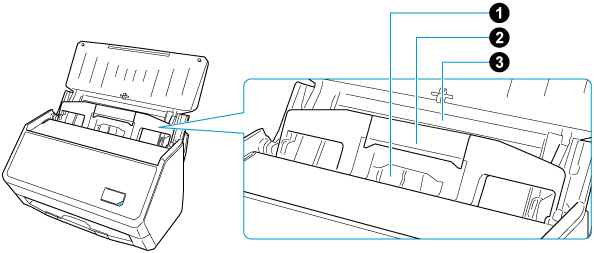
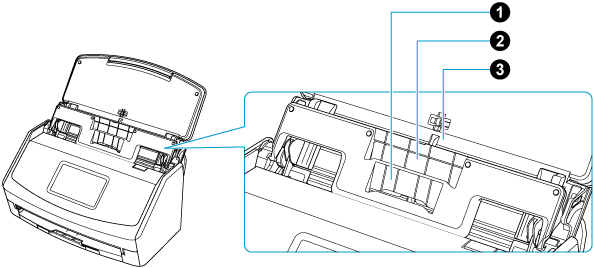
The three types of guides on the Receipt Guide allow you to load different sized documents.

Loading section |
|
|
|
|---|---|---|---|
Document type |
Business cards and receipts |
Receipts |
Office paper |
Paper weight |
40 to 209 g/m2 (11 to 56 lb) |
||
Paper size |
|
|
|
|
|||
| *1: |
The length of a document that can be scanned differs according to the settings for a profile. |
-
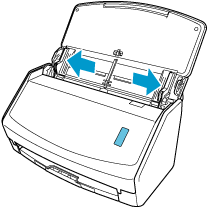
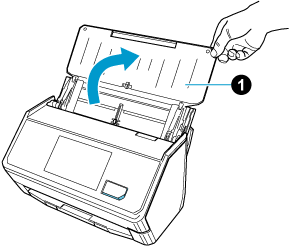
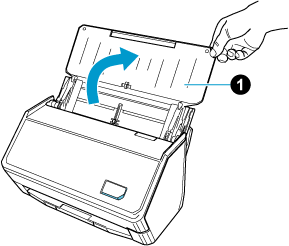
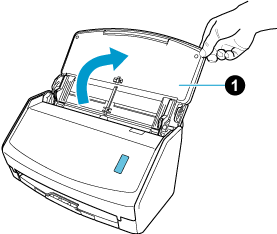
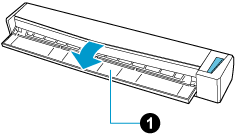
Open the ADF paper chute (cover)
 of the ScanSnap. Hold the right side of the ADF paper chute (cover)
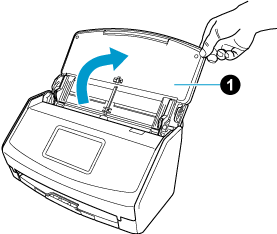
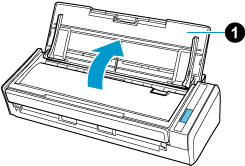
  of the ScanSnap then open it or press the [Scan] button
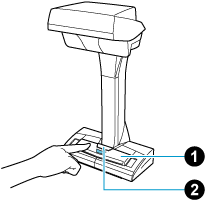
  . Open the feed guide of the ScanSnap. Press the [Scan] button or [Stop] button on the ScanSnap.
When the ADF paper chute (cover) is opened, the power is turned on.
When the ADF paper chute (cover) is opened or the [Scan] button is pressed, the power is turned on.
Open the ADF paper chute (cover) fully so that the [Scan] button lights up in blue.
When the ADF paper chute (cover) is opened, the extension
will rise automatically.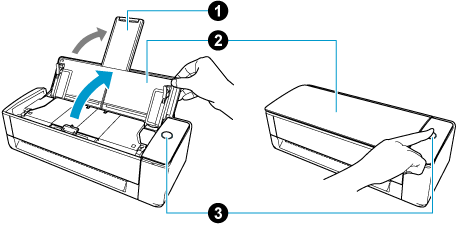
When the feed guide is opened, the power is turned on.
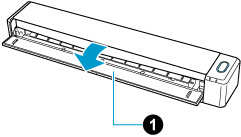
Press the [Scan] button or [Stop] button on the ScanSnap to turn the power on.
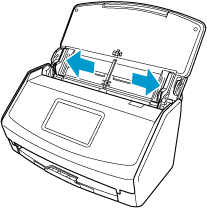
- Slide the side guides all the way out.