Sending an Image Directly from the ScanSnap via E-Mail
By using ScanSnap Cloud, send an image created from the document that you scanned to the e-mail address which you registered in a profile in advance.
If you create a profile that has an e-mail address set for the e-mail destination and an e-mail subject, you can send a scanned image directly from the ScanSnap via e-mail without using a computer.
To use ScanSnap Cloud, you must sign in to a ScanSnap account.
For regions where ScanSnap accounts can be used, refer to here.
Up to 300 e-mails can be sent per month.
An e-mail address specified for the destination needs to be set to receive e-mails from the domain "@mail.cloud.scansnap.com".
-
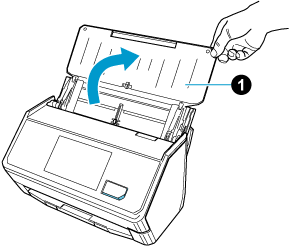
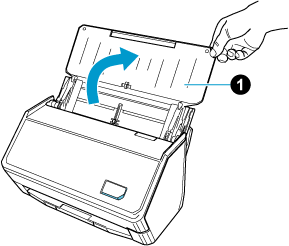
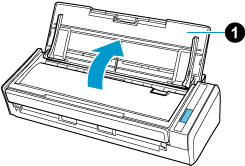
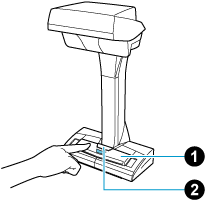
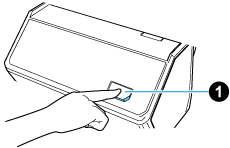
Open the ADF paper chute (cover)
 of the ScanSnap. Hold the right side of the ADF paper chute (cover)
  of the ScanSnap then open it or press the [Scan] button
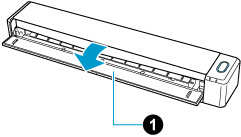
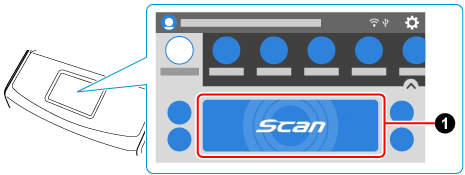
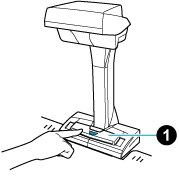
  . Open the feed guide of the ScanSnap. Press the [Scan] button or [Stop] button on the ScanSnap.
When the ADF paper chute (cover) is opened, the power is turned on.
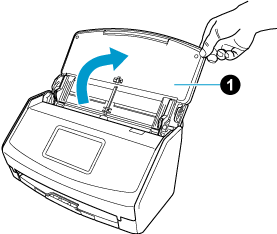
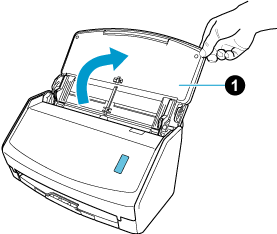
When the ADF paper chute (cover) is opened or the [Scan] button is pressed, the power is turned on.
Open the ADF paper chute (cover) fully so that the [Scan] button lights up in blue.
When the ADF paper chute (cover) is opened, the extension
will rise automatically.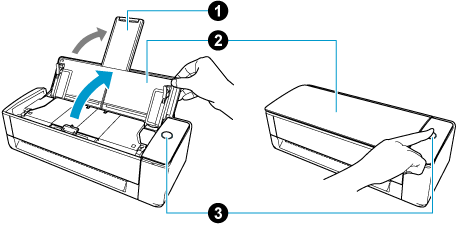
When the feed guide is opened, the power is turned on.
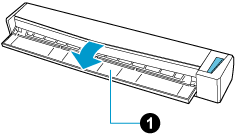
Press the [Scan] button or [Stop] button on the ScanSnap to turn the power on.
- Configure the settings for a profile.
- Click the [Add profiles] button to display the [Add new profile] Window.
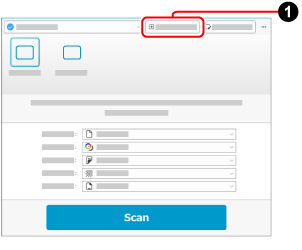
- In the [Add new profile] window, create a profile.
Select [Email Directly] from [Cloud services (via ScanSnap Cloud server)] on the template list. In the window that appears when you click the [Email setting] button for [Cloud Service], set an e-mail address for an e-mail destination and a subject of an e-mail.
The number of e-mail addresses that can be set for [To]: up to 10
The number of characters that can be set for [Subject]: up to 255
![[Add new profile] Window](../../../jp/pc/images/common/ope_PF_add_mail_01.png)
![[Add new profile] Window](../../../jp/pc/images/common/ope_PF_add_mail_old_01.png)
- Click the [Add profiles] button
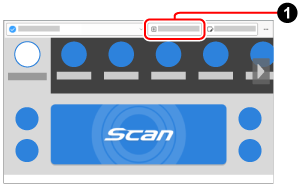
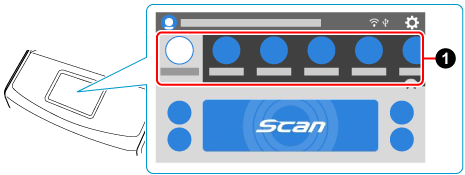
- On the touch panel of the ScanSnap, select the profile that you have configured in step 4 from the profile list .

-
Press the [Scan] button to scan the documents. Press the [Scan] button on the touch panel to scan the documents. Press the [Scan/Stop] button to scan the document. Press the [Scan] button to scan the documents.
To scan documents which are longer than 360 mm (14.17 in.), hold down the [Scan] button for 3 seconds or longer.
To scan documents which are longer than 360 mm (14.17 in.), hold down the [Scan] button for 3 seconds or longer.


If the [Scan] button is still flashing in blue when the scanning of documents is complete, press the [Scan] button again to finish the scan.
If the [Scan] button is still flashing in blue when the scanning of documents is complete, press the [Scan] button again to finish the scan.
If the [Scan/Stop] button is still flashing in blue when the scanning of documents is complete, press the [Scan/Stop] button again to finish the scan.
If the power LED is still flashing in blue when the scanning of documents is complete, press the [Stop] button to finish the scan.
The image created from the document that you scanned is sent via an e-mail.