This website is designed to be used with ScanSnap Home 2.xx.
If you are using ScanSnap Home 3.0 or later, refer to here.
 Sending Scanned Images Directly to a Network Folder
Save images created from documents scanned to the network folder specified in advance.
By scanning documents using a profile configured to connect to a network folder, you can save scanned images directly from the ScanSnap to a network folder without using a computer.

For details about network folders that scanned images can be saved to directly from the ScanSnap, refer to System Requirements for Network Folders That Can Be Directly Connected to the ScanSnap.
Saving scanned images created by scanning documents with the ScanSnap directly to a network folder requires the following environment and settings:
Connecting to the NTP server is possible
[Selected user] or [All users] is set for the profile display method of the touch panel of the ScanSnap
For details about how to change the method for displaying profiles, refer to Changing Users in order to Display the User's Own Profiles.
This section explains how to scan basic documents and save the scanned images directly from the ScanSnap to a network folder.
For details about how to scan various documents, refer to How to Scan Documents.
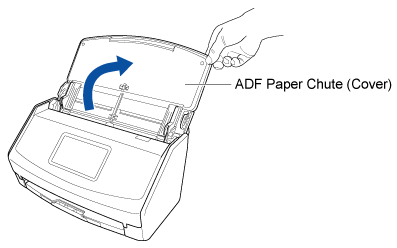
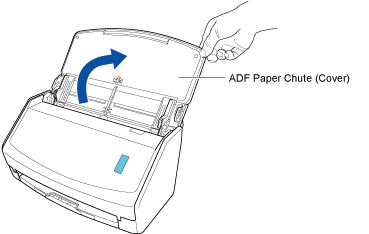
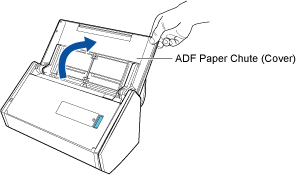
- Open the ADF paper chute (cover) of the ScanSnap to turn the power on. Hold the right side of the ADF paper chute (cover) of the ScanSnap then open it or press the [Scan] button to turn it on. Open the feed guide of the ScanSnap to turn the power on.

- Connect the ScanSnap to a wireless access point.
When the ScanSnap is connected to a wireless access point, proceed to the next step.
- Press
 in the home screen on the touch panel of the ScanSnap to display the [Settings] screen.
 - Press
 to display the [Wi-Fi settings] screen.
 - Check that [Wi-Fi connect mode] is set to [Access point connection].
- Press [Access point connection].
- Press [Access point connect settings] and connect the ScanSnap to a wireless access point by following the instructions shown on the screen.
- After a connection to the wireless access point is established, press
 to display the home screen.
- Press
-
Prepare a profile in ScanSnap Home.
-
Click the [Scan] button at the top of the Main Window of ScanSnap Home to display the Scan Window.
If the main window is not already displayed, refer to To Display the Main Window.
If the main window is not already displayed, click the [ScanSnap Home] icon
 in the application list that appears when you click Launchpad in the Dock.
 -
Click
 to display the [Add new profile] Window.
-
Click the [Scan] button at the top of the Main Window of ScanSnap Home to display the Scan Window.
- Scan documents with the ScanSnap.
-
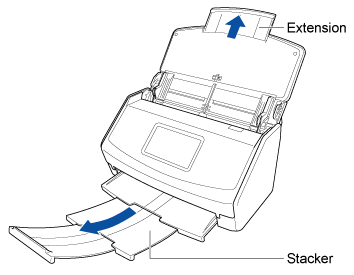
Pull out the extension and the stacker on the ADF paper chute (cover).
-
Load documents in the ADF paper chute (cover).
Load the documents face-down and head-first with the back facing you (when loading multiple documents, the last page is on the top).
Adjust the number of documents so that they do not go beyond
 within the side guides when they are loaded.
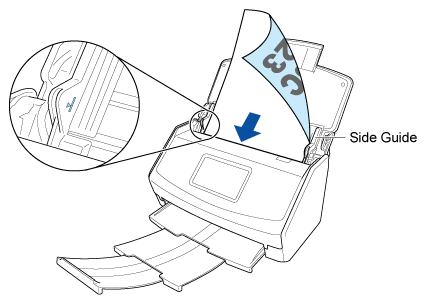
-
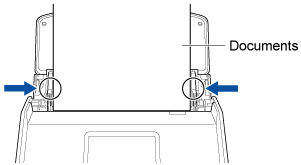
Align the side guides with both ends of the documents.
Hold each side guide in the middle to adjust them. Otherwise, the documents may be fed skewed during scanning.
-
Pull out the extension and the stacker on the ADF paper chute (cover).
The images created from the documents that you scanned are saved in the network folder.