This website is designed to be used with ScanSnap Home 2.xx.
If you are using ScanSnap Home 3.0 or later, refer to here.
Making Information on Scanned Receipts/Invoices Manageable with ScanSnap Home (ScanSnap iX1600 Receipt Edition)
You can manage images and content information created from receipts/invoices scanned with the ScanSnap as content data records in ScanSnap Home.
You can also edit the images and content information in the [Scan to ScanSnap Home] window before saving and managing them in ScanSnap Home.
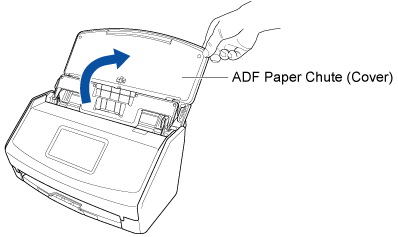
- Open the ADF paper chute (cover) of the ScanSnap to turn the power on.
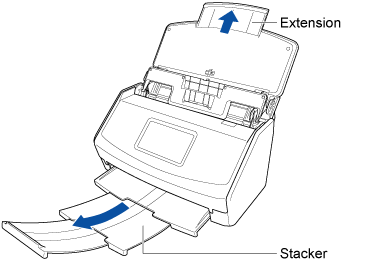
- Pull out the extension and the stacker on the ADF paper chute (cover).
- Specify the feeding method.
When the feed mode setting icon displayed on the right side of the [Scan] button on the touch panel is
 , select [Normal scan] or [Continuous scan] in the [Feed mode setting] screen that is displayed when the icon is pressed.
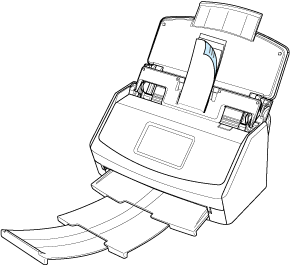
 - Load documents in the ADF paper chute (cover).
Load documents in the guides on the Receipt Guide according to the width of each guide.
Load the documents face-down and top-first with their back facing you.
For details about documents that can be loaded with the Receipt Guide, refer to Attaching the Receipt Guide.
Content data records created from the receipts/invoices that you scanned are displayed in the main window of ScanSnap Home.
You can receive a notification on your computer about the document type for the content data records and the save destination for the scanned images after the scanning of documents is complete.
For details, refer to Specifying Actions of ScanSnap Home.